

Creating a live USB version of Kali Linux has many perks. Live USBs provide the additional benefit of enhanced privacy because users can easily carry the USB device with them or store it in a secure location (e.g. a safe), reducing the opportunities for others to access their data. In this article, we go over how to create a live USB by using the command line tool “DD” and software called Etcher.
To begin, we will need the following:
- USB Thumb Drive (4GB or larger)
- Kali Linux ISO
- Etcher (Windows)
- DD (Pre-installed on Linux & MacOS)
Advanced Persistence, with a bit of extra effort, you can configure your Kali Linux “live” USB drive to have persistent storage, so the data you collect is saved across reboot
Once downloaded, Etcher can be installed and ran simply by double clicking the .exe It is sometimes best to format your USB drive to FAT before proceeding. However, Etcher does very well with point and click live USB creation. Simply select the location of your Kali linux .iso, insert your USB, and click “Flash”. Within just a few minutes, the live USB will be created. Simply leave your USB plugged in and reboot your PC to boot into Kali. Be sure to enable USB boot within BIOS.

Creating a live USB within Linux or Mac is just as easy as using Etcher and can be done with a command line tool called “dd”. Note that you’ll need to be running as root, or to execute the dd command with sudo.
First, you’ll need to identify the device path to use to write the image to your USB drive. Without the USB drive inserted into a port, execute the command
sudo fdisk -l
Plug your USB drive into an port on your system and run the same command. Now, the output will show an additional device which wasn’t there previously, in this example “/dev/sdb”, a 16GB USB drive.
Navigate to the location of the image file and carefully image the Kali ISO file on to the USB device by using the command below. The recommended blocksize value, “bs=512k”, is conservative and reliable. Increasing this can lead to un-bootable drives.
dd if=kali-linux-2018.4-amd64.iso of=/dev/sdb bs=512k
The dd command provides no feedback until it’s completed. The time to dd the image across will depend on the speed of the system used, USB drive itself, and USB port it’s inserted into. Once dd has finished imaging the drive, it will output something similar to this:
5823+1 records in
5823+1 records out
3053371392 bytes (3.0 GB) copied, 746.211 s, 7.1 MB/s
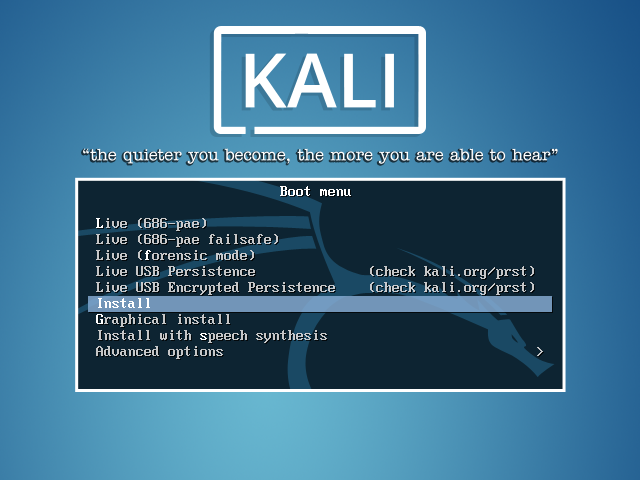
Once completed, simply type “reboot” into terminal and hit enter to boot into your newly created Kali Live USB.
For more information on the tools used and how to create a persistent LIVE USB please refer to the link below.
https://docs.kali.org/downloading/kali-linux-live-usb-persistence